

Why Home Grooming Matters — and Why Pets Resist It
Regular grooming isn't just cosmetic. Brushing distributes natural oils and prevents painful matting. Nail trims protect joints and flooring. Ear cleaning reduces the risk of infections. When these tasks happen consistently, they're also a health-monitoring opportunity — you're more likely to notice a lump, skin irritation, or early ear redness when you're hands-on regularly.
Resistance to grooming is almost always learned, not innate. A pet that squirms during nail trims has usually had an uncomfortable experience — a quick cut into the nail's blood vessel (called the quick), restraint that felt threatening, or a groomer visit that was overwhelming. The goal of home grooming isn't just convenience; it's rebuilding or establishing a calm, predictable ritual your pet learns to tolerate or even enjoy.
Before you begin any session, it helps to understand what your pet is actually communicating. Reading your pet's body language will help you recognize when to pause, redirect, or call it a day before stress tips into fear.
What you will need
Tools and Setup
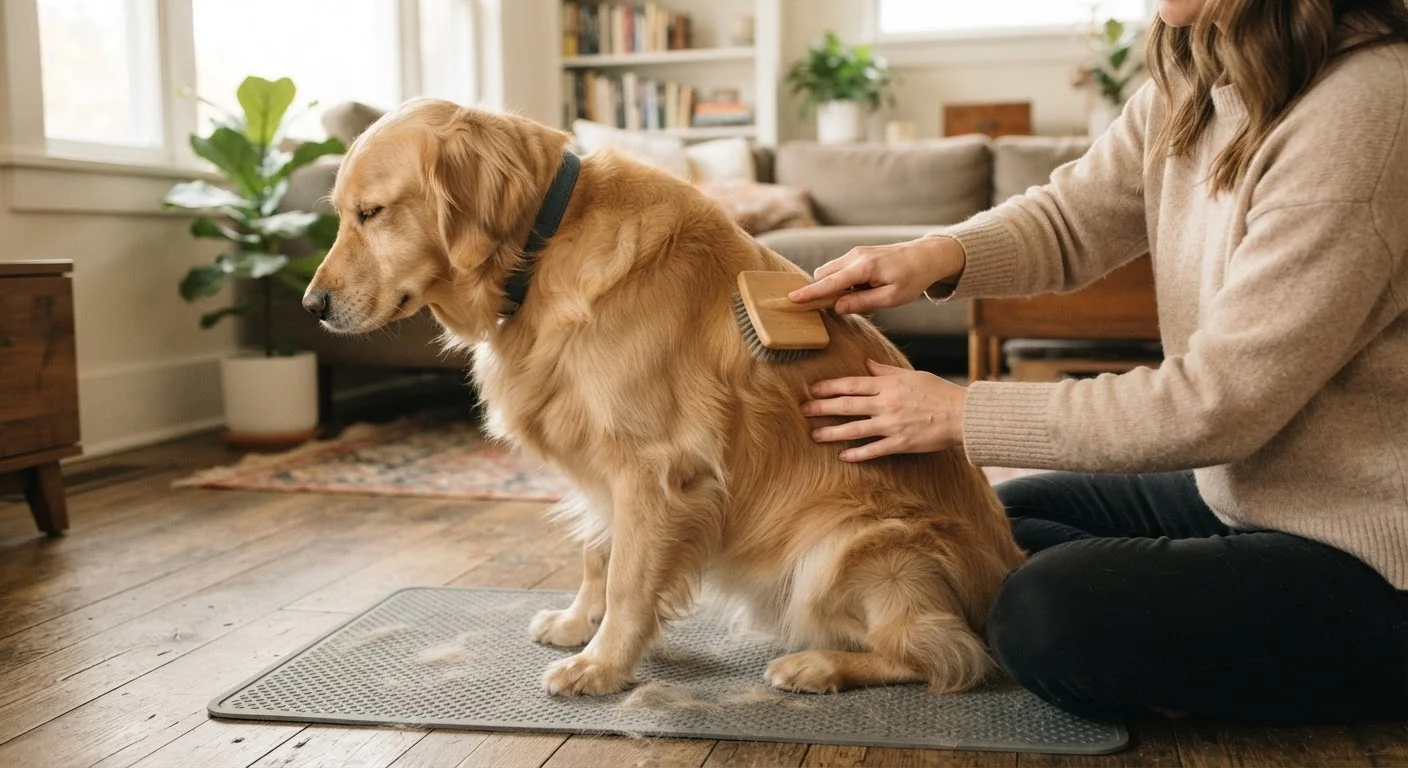
Gathering the right supplies before you start removes mid-session scrambling, which can startle a nervous pet. Choose a non-slip surface — a rubber mat on the floor or a towel on a low table works well for most dogs and cats.
Slicker brush or deshedding comb
Removes loose fur, distributes coat oils, and detangles — choose based on your pet's coat length and type.
Pet nail clippers
Trims nail length safely; sized models exist for cats, small dogs, and large dogs.
Styptic powder
Stops minor bleeding quickly if a nail tip is trimmed into the quick.
Vet-approved ear cleaning solution
Loosens wax and debris without damaging the ear canal lining.
Cotton balls or gauze pads
Used to gently wipe ear cleaning solution and debris from the outer ear.
High-value treats
Positive reinforcement that helps your pet form calm associations with grooming tools and handling.
Grooming mat or non-slip surface
Gives your pet secure footing so they feel less anxious during handling.
Detangling spray (pet-formulated)
Applied before brushing to reduce pulling in longer or prone-to-matting coats.
If you have a new pet and haven't yet assembled a full grooming kit, our new pet checklist covers supplies worth having from day one.
Step-by-Step: A Calm Grooming Session
Work through each task in the order below. You don't have to complete every task in a single session — splitting nail trims and ear cleaning into separate short appointments is perfectly reasonable, especially for anxious pets.
Let your pet sniff and investigate the tools
Before any grooming begins, place the brush, clippers, and cotton balls on the mat and let your pet approach them at their own pace. Reward calm investigation with a treat and calm praise. This brief acclimation period — even just two to three minutes — reduces the startle response when tools make contact.
Brush the coat before any other task
Start with brushing because most pets find it the least threatening. Work in the direction of hair growth using gentle, short strokes. Begin at the neck and move toward the tail, then address legs and underbelly last — these areas tend to be more sensitive. Part the coat periodically to check the skin for redness, flaking, or unusual bumps.
For long-coated breeds, hold the fur above the tangle with one hand while brushing through it with the other — this distributes tension away from the skin and makes detangling far more comfortable.
Trim nails one paw at a time
Hold one paw gently but firmly. Identify the quick — in light-colored nails it appears as a pinkish core; in dark nails, clip very small increments until you see a dark dot appear at the cut surface (this signals you're approaching the quick). Clip only the curved tip at a slight angle.
After each nail, release briefly and offer a treat. You do not need to trim all four paws in one sitting. Trimming one paw per session is completely acceptable while your pet builds tolerance.
Clean the outer ears
Apply a small amount of vet-approved ear cleaning solution to a cotton ball — never pour liquid directly into the ear canal. Gently wipe the visible folds of the outer ear only, removing dark wax or debris. Stop at the point where the ear canal begins; do not probe deeper.
Healthy ears should be light pink, odorless, and have minimal wax. Dark brown discharge, an unpleasant smell, head shaking, or scratching at the ear are signs to contact your veterinarian rather than continue cleaning at home.
End with praise and a reward
Always close a grooming session on a positive note, even if the session was cut short. Offer a high-value treat, a favorite toy, or a few minutes of calm play. This ending shapes your pet's memory of the event — the most recent moment tends to color the overall impression for next time.
Note briefly what went smoothly and what caused hesitation, so you can adjust your approach for the next session.
Build Grooming Into a Routine
Pets adapt more easily to grooming when it happens on a predictable schedule rather than sporadically. Even a brief weekly brush keeps coats manageable and keeps your pet familiar with being handled. Consistency is the single most effective tool for reducing grooming anxiety over time.
When to Stop and When to Call a Professional
Home grooming has limits, and recognizing them is part of responsible pet care. Stop a session immediately if your pet is panting heavily, trembling, growling, snapping, or trying to flee — these are signs of acute stress, not stubbornness. Forcing through these signals can create lasting grooming aversion.
Never Force Through Acute Stress Signals
If your pet is growling, snapping, trembling, or attempting to flee, stop the session immediately and give them space. Continuing when a pet is over threshold doesn't build tolerance — it deepens fear and raises the risk of a bite. End the session calmly, avoid punishing the reaction, and consult your veterinarian or a certified animal behavior consultant if stress signals are severe or consistent.
Some situations call for a professional groomer or veterinarian: severely matted coats that would require painful pulling to detangle, pets with a history of aggression during handling, or any grooming task your vet has flagged as medically sensitive. Many veterinary clinics also offer low-stress handling or cooperative care programs specifically for anxious animals — worth asking about if home sessions consistently feel like a struggle.
Keeping grooming sessions brief and mentally engaging connects naturally to your pet's broader wellbeing. See what enrichment actually means for a house pet for ideas on pairing grooming practice with daily mental stimulation.
This article is for general informational purposes only and does not constitute veterinary advice. Consult a licensed veterinarian for guidance specific to your pet's health, breed, or behavior.
The content on this site is for informational purposes only and is not a substitute for professional advice. Always consult a qualified professional for guidance specific to your situation.